Have you ever needed to create a 3 column by 14 row chart for a project or presentation, but didn’t know where to start? Look no further! In this article, we’ll walk you through the simple steps to create a professional-looking chart in no time.
Creating a 3 column by 14 row chart may seem daunting at first, but with the right tools and guidance, it can be a breeze. Whether you’re a student working on a school project or a professional preparing a business report, having a well-organized chart can make all the difference.

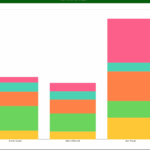
3 Column By 14 Row Chart
3 Column By 14 Row Chart
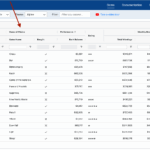
To start, open your preferred spreadsheet software such as Microsoft Excel or Google Sheets. Create a new document and label the columns A, B, and C. Then, input your data into the cells, making sure to fill in all 14 rows for each column.
Next, select the entire range of data in your chart. Go to the “Insert” tab and choose the type of chart you want to create. In this case, select a 3 column by 14 row chart. Customize the chart to your liking by changing the colors, font, and layout.
Once you’re satisfied with how your chart looks, it’s time to add any necessary labels or titles. Make sure to include a clear and concise title that summarizes the data in your chart. You can also add legends, axis labels, and other annotations to make your chart more informative.
In conclusion, creating a 3 column by 14 row chart is a straightforward process that can elevate the quality of your projects and presentations. With a bit of practice and attention to detail, you’ll be able to impress your audience with visually appealing and easy-to-understand charts in no time.