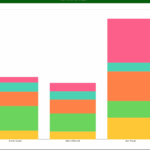
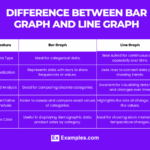
If you use Power BI for data visualization, you may want to create a 2 Column Line Chart to display your data effectively. This type of chart is great for showing trends over time and comparing two sets of data.
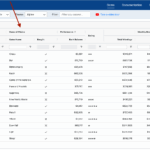
With Power BI, you can easily create a 2 Column Line Chart by selecting your data and choosing the chart type from the visualization pane. You can customize the chart by adjusting colors, labels, and axis settings to make it look exactly how you want.

2 Column Line Chart Power Bi
Creating a 2 Column Line Chart Power Bi
To create a 2 Column Line Chart in Power BI, start by importing your data into the program. Then, go to the “Visualizations” pane and select the 2 Column Line Chart option. Next, drag and drop the fields you want to compare onto the chart to display your data.
You can further enhance your 2 Column Line Chart by adding filters, slicers, and other visualizations to provide more context to your data. Power BI offers a range of customization options to help you create a visually appealing and informative chart.
By utilizing the 2 Column Line Chart in Power BI, you can easily analyze trends, patterns, and relationships in your data. This type of chart is a powerful tool for gaining insights and making data-driven decisions for your business or projects.
In conclusion, creating a 2 Column Line Chart in Power BI is a straightforward process that can greatly enhance your data visualization capabilities. By following a few simple steps, you can create a visually appealing and informative chart to help you better understand your data.